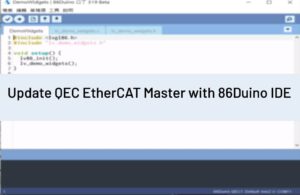
[QEC Tutorial]
For the full tutorial, see Example: Digital Input/Output on non-QEC with EtherCAT Library.
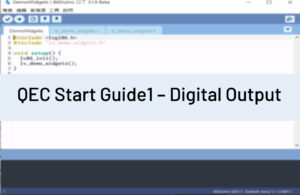
Digital Output
Let external LED blinks with EtherCAT digital output module.
Hardware
- QEC-M-01
- QEC-R11D0F: EtherCAT 16 Channel Digital Output Slave Module
- Others: 24V LED
Circuit
Please refer to QEC Example – Digital Output’s circuit part for circuit construction.
Code
Please refer to QEC Example – Digital Output’s code part first.
Note that the EtherCAT slave device is a non-QEC device, so the EthercatDevice_QECR11D0FS should be changed to EthercatDevice_Generic when setting the slave object names.
* The EthercatDevice_Generic category is a generic object for all brands of EtherCAT devices.
EthercatMaster master;
EthercatDevice_Generic slave0;
Next, the EtherCAT master and slave are initialized, and the slave is attached to the EtherCAT network.
In the main loop, the 1-byte data will be written to the PDO memory address using pdoWrite8.
slave0.pdoWrite8(0, 1);
Among them, pdoWrite8(offset, value) has two parameters described as follows.
- offset: The ProcessData memory address.
- value: 1-byte Data.
Then you close it again by using the below command.
slave0.pdoWrite8(0, 0);
Note: There needs to be enough blinking time between opening and closing, so you need to use the delay() command to light up in 4000 ms, darken in 1000 ms, and not perform any other operation.
Example
#include "Ethercat.h"

EthercatMaster master;
EthercatDevice_Generic slave0;

void setup(void) {
    Serial.begin(115200);
    master.begin();
    slave0.attach(0, master);
    master.start();
}
void loop() {
    slave0.pdoWrite8(0, 1);
    delay(4000);
    slave0.pdoWrite8(0, 0);
    delay(1000);
}
Learn More
You can find more information about the basic QEC applications in the EtherCAT application.
You can also explore Language or Libraries for a more detailed collection of 86Duino IDE programming.