[QEC Tutorial]
For the full tutorial, see Example: Digital Input/Output on QEC with Low-code.
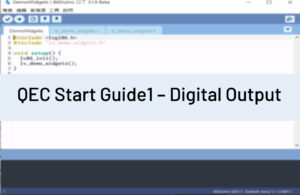
Digital Output
With 86EVA and ArduBlock, using the EtherCAT digital output module makes external LEDs blink.
ハードウェア
- QEC-M-01
- QEC-R11D0F: EtherCAT 16 Channel Digital Output Slave Module
- Others: 24V LED
Circuit
Before constructing the circuit, connect the EtherCAT Out network on the QEC-M to the EtherCAT In network of the QEC-R11D0F.
This example uses the Vp power supply of the QEC-R11D0F as the power supply for QEC-R11D0F Pin0.
- Vp power supply is connected to QEC-R11D0F Pin0+
- The positive pole of LED is connected to the QEC-R11D0F Pin0-
- The negative pole of LED is connected back to the GND of the Vp power supply
As shown in the figure.

Step 1: 86EVA, EtherCAT Configuration
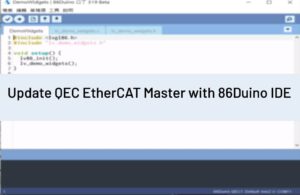
Go to the 86Duino Coding IDE, open the 86EVA tool, and configure EtherCAT.

Step 2: Set up the Virtual Arduino Pin and generate the code
In the screen of the Digital Output slave device, QECR11D0FS, set DQ00 as Virtual Pin D0 as the pin selection for the subsequent ArduBlock.
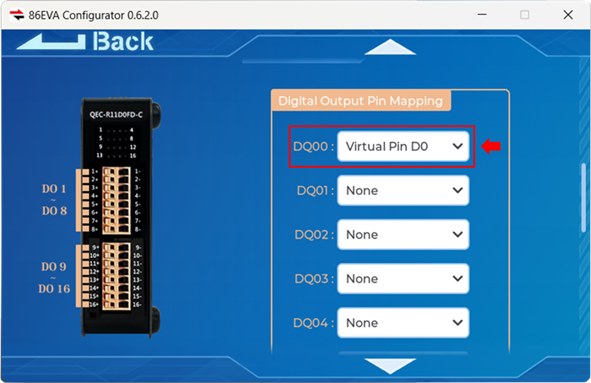
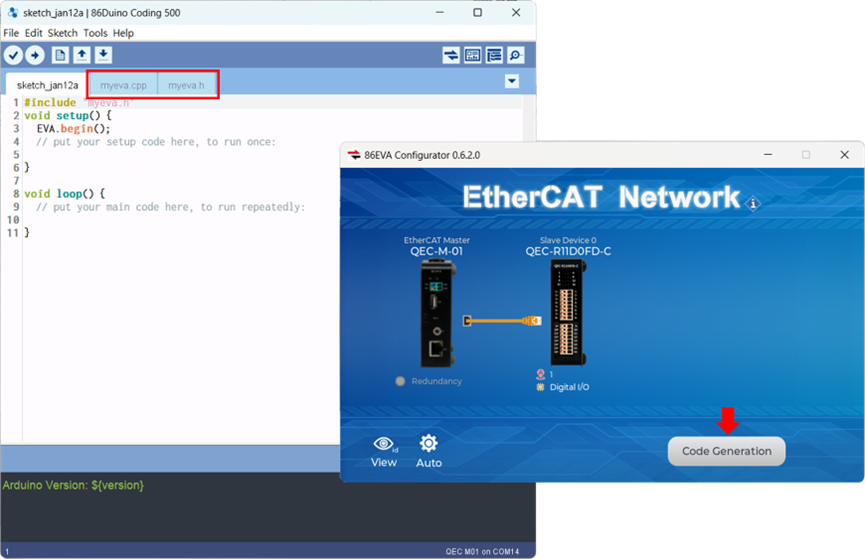
After completion, the 86EVA code can be generated.
Step 3: ArduBlock setup
Open ArduBlock.

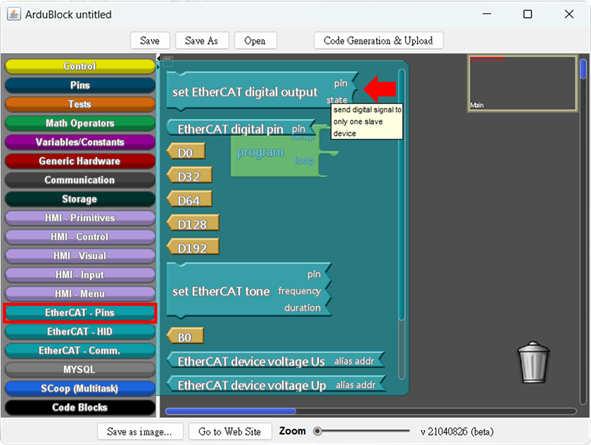
Let the set EtherCAT digital output block from the EtherCAT – Pins class into the program’s main loop and set pin to D0 and state to HIGH.
Between open and close, there needs to be enough blinking time, so you need to use the delay() command to light in 4000 milliseconds and dark in 1000 milliseconds and not perform any other operations; delay Millis (milliseconds) blocks in the Control class.
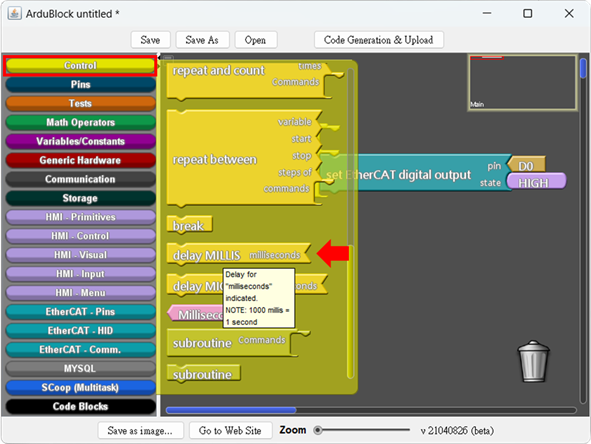
We drag the delay Millis block below the block with the EtherCAT digital output of High, set the time to 4000 ms, drag the set EtherCAT digital output block below it and set the state to LOW; finally, drag the delay Millis block into the to the end and set 1000 ms.
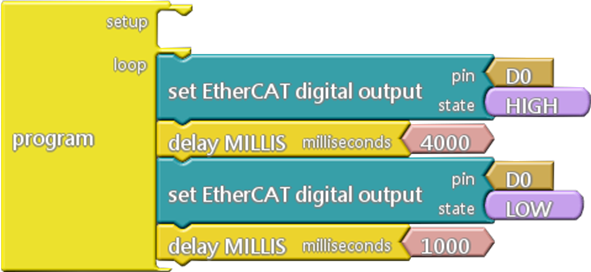
This way, the EtherCAT digital output module can be used to make the external LED blink; the finished block is as follows.
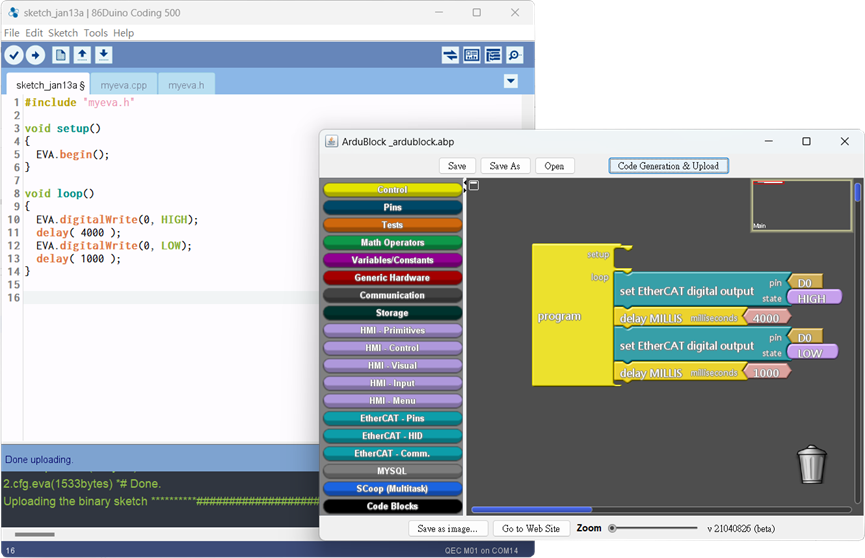
Generate the code and upload it.
Learn More
You can find more information about the basic QEC applications in the EtherCAT application.
You can also explore コード構文 または コードライブラリ for a more detailed collection of 86Duino IDE programming.