[QEC Tutorial]
This example shows how to operate the QEC-M (EtherCAT Master) and QEC’s EtherCAT Slave Digital Input & Output Modules through the 86Duino IDE’s graphical low-code programming tools, 86EVA and ArduBlock, to perform basic applications and to see the actual physical state: controlling the external LEDs via the EtherCAT Digital Output Slave Module and receiving their status via the EtherCAT Digital Input Slave Module.
Software Tools Description
- 86EVA (EVA, EtherCAT-Based Virtual Arduino):
is a graphical EtherCAT configuration tool based on the EtherCAT Library in the 86Duino IDE and is one of the development kits for 86Duino. - ArduBlock:
is a graphical interface for programming and IO control. It is third-party software that belongs to Arduino IDE, developed by David Li, a Shanghai-based creator, and must be attached to the IDE to operate. ArduBlock is a software that converts graphical blocks into code and eventually generates the main program to 86Duino Coding IDE, then compiles and uploads it.
As this document is a continuation of the ” EtherCAT Library Example: QEC Digital Input/Output“, If you have any questions about the hardware in the tutorial, please read the EtherCAT Library example: Digital Input/Output for QEC.
ソフトウエア
ハードウェア
- QEC-M-01
- QEC-R11DF0: EtherCAT 16 Channel Digital Input Slave Module
- QEC-R11D0F: EtherCAT 16 Channel Digital Output Slave Module
- Others:
- LAN Cable
- 24V 2A Power Source
If this is your first time running the 86Duino IDE, we recommend you read 86duino向け QEC-M-043T のセットアップ before proceeding with this example.
チュートリアル
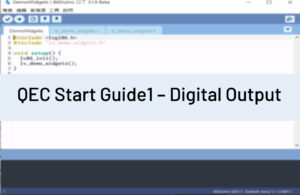
- Example1 – Digital Output on QEC with Low-code
- Example2 – Digital Input on QEC with Low-code
- Example3 – Digital Input/Output on QEC with Low-code
Learn More
You can find more information about the basic QEC applications in the EtherCAT application.
You can also explore Language or Libraries for a more detailed collection of 86Duino IDE programming.