1. 86Duino 入門
86Duino 統合開発環境(IDE)ソフトウェアは、コードの記述と86Duinoボードへのアップロードを容易にします。Windows、Mac OS X、およびLinux上で動作します。この環境は Java で書かれており、Arduino IDE、Processing、DJGPP、およびその他のオープンソースソフトウェアをベースにしています。
ICOP の QEC は、ハードウェアとソフトウェアのリアルタイム要件を満たすために DMP Electronic が開発したデュアルコア Vortex86EX2 プロセッサを搭載した Arduino ベース (86Duino) EtherCAT ソリューションです。
注: このチュートリアルは QEC-M 製品シリーズで動作します。
1.1 目的:
このチュートリアルでは、以下をおこないます :
- 86Duino のダウンロードとインストール
- QEC-M-01の起動
- コンピュータがボードを認識しているかの確認
- 簡単な点滅 (blink) サンプルのアップロード
1.2 必要なハードウエアとソフトウエア
- 86Duino IDE 500+
- QEC-M-01
- USB to Micro-USB ケーブル
- 電源アダプタ
2. 始めましょう:
2.1. 86Duino IDEのダウンロード
86Duino IDE は公式ウェブサイトからダウンロード可能です。
Link: https://www.qec.tw/software/

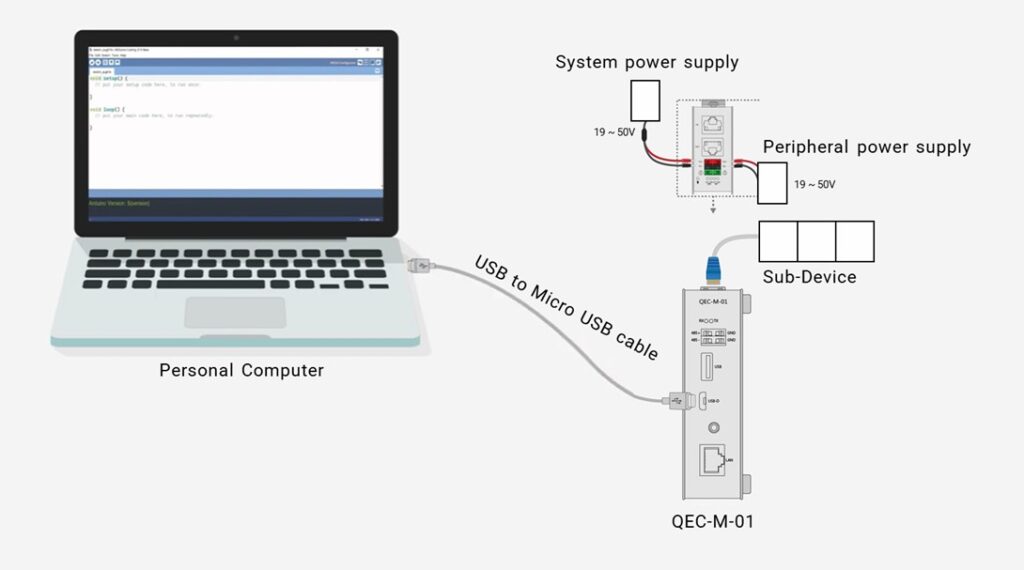
2.2. QEC-M-01への電力供給
QEC-M-01の電源には、VsとVpの2つのグループがあります。どちらの電源も19VDCから50VDCまでの幅広い電圧範囲に対応しています。電源を入れると、電源LEDが点灯します。
注 : Vs はシステム電源 ; Vp はペリフェラル電源
2.3. USBケーブルの接続

2.4. デバイスが認識されているかの確認
PC のデバイスマネージャ → ポート(COMとLPT)を開き、ポートを展開すると、"Prolific PL2303GC USB Serial COM Port (COMx)" が検出されていることが確認できます。

(Windows PL2303ドライバの場合は、ダウンロードできます。 ここ)
2.5. 最初のスケッチの記述
- 86Duino IDE を開く
- メニュー・バーからツール・メニューを展開する
- 適切なボードを選択します。IDE メニューで、[ツール] > [ボード] > [QEC-M-01] (または使用する QEC MDevice モデル) を選択します。

- ポートの選択: IDE メニューで、[ツール] > [ポート] を選択し、QEC MDevice に接続する USB ポート (この場合は COM9 (QEC)) を選択します。

2.6. 最初のスケッチのアップロード(デバイスへの書込み)
Arduino開発環境は、初期化とメインプログラムに対応するsetup()とloop()という2つの主要な部分から構成されています。EtherCATネットワークを動作させる前に、一度設定を行う必要があります。EtherCATデバイスでは、Pre-OPモードからOPモードへの設定プロセスが必要です
コードを記述したら、ツールバーの√をクリックしてコンパイルし、コンパイルが完了しエラーがないことを確認するには、->をクリックしてアップロードします。

3. 動作の確認
QEC-M-01 の電源 LED が点灯したら、86Duino を使用して最初のスケッチを QEC-M-01 に正常にアップロードできたことを意味します。

QEC の今後の企画にご期待ください。
ご質問等があれば、気軽にコメントください。
A.トラブルシューティング
A-1. 電源
電源を入れる前に、電源アダプターやコードを確認してください。
- 電源アダプタ : 24V/2A
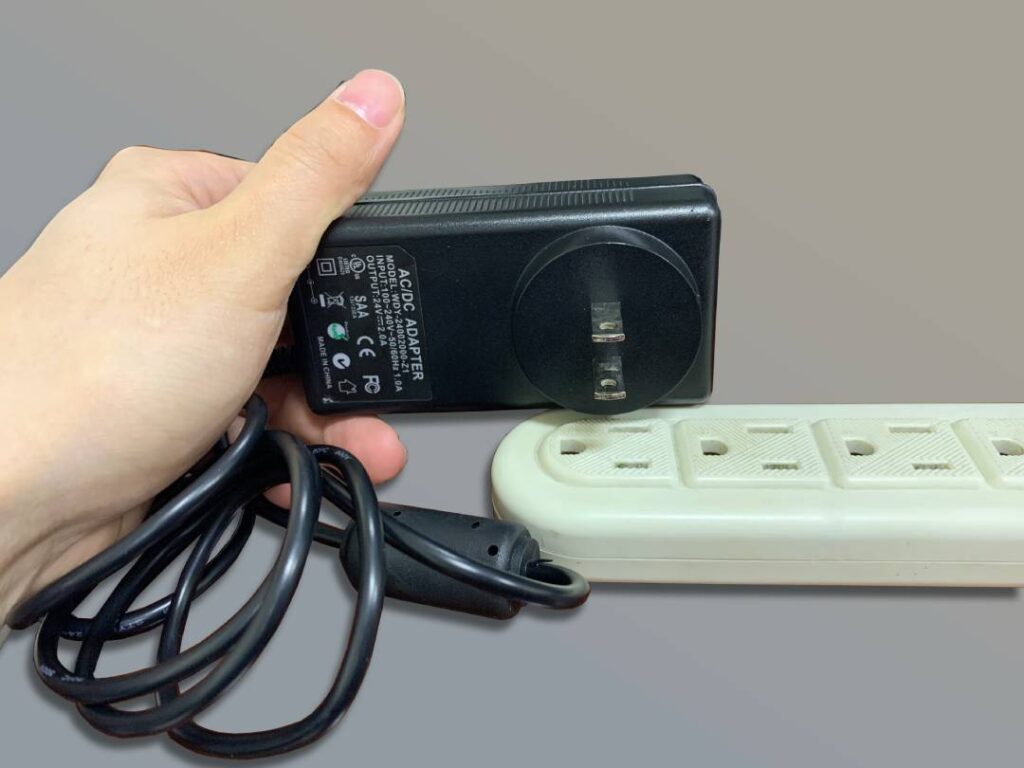
- 電源コード : 赤から赤 (VCC); 黒から黒(GND)
QECの製品シリーズは、すべて回路保護機能を備えていますので、ご安心ください。
86Duinoリファレンスのテキストは、Arduinoリファレンスを改変したもので、Creative Commons Attribution-ShareAlike 3.0ライセンスに基づいてライセンスされています。リファレンス内のコードサンプルはパブリックドメインとして公開されています。